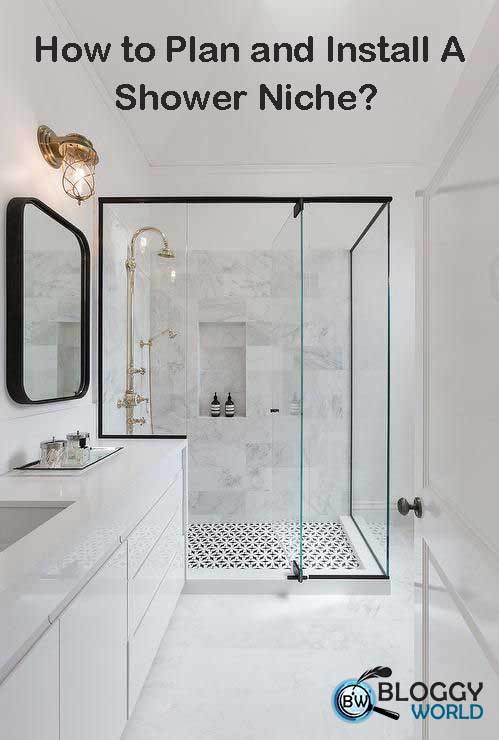
In the world of bathroom design, the shower niche has become a popular and functional element that not only adds a touch of elegance but also provides practical storage space. If you’re considering upgrading your shower experience, read on for a comprehensive guide on how to tile a shower niche, covering everything from materials to installation tips, A DIY Installation Shower Niche Guide.
Materials for Shower Niches:
You can find many kinds of shower niches out there, ranging from basic built-in shelves to tiled nooks. There’s a variety of options to choose from based on what you need? how much do you want to spend and how do you want to architecturally design your tiled shower niche? Let’s take a look at the different kinds of niche choices you have:
- Ceramic Tiles:
- Durable and easy to clean.
- A wide variety of colors, sizes, and textures are available.
- Suitable for both traditional and contemporary designs.
- Natural Stone:
- Provides a luxurious and timeless look.
- Options include marble, granite, and slate.
- Requires proper sealing for longevity.
- Quartz:
- A low-maintenance and non-porous material.
- Resistant to mold and mildew.
- Modern and sleek appearance.
- Porcelain:
- Affordable and versatile.
- Resistant to moisture and stains.
- Mimics the look of natural stone.
- Stainless steel:
- corrosion resistance
- leak proof
- easy and inexpensive to install
Choosing the Best Material:
Consider the overall aesthetic of your bathroom, maintenance preferences, and budget when selecting the material for your shower niche. Each material has its unique characteristics, so choose one that aligns with your style and practical requirements.
Proper Planning for Shower Niches:
Thinking about adding a shower niche shelf to your bathroom during the construction? or How to add a niche in the existing shower? Before you begin, take a moment to think about it carefully. It’s not just about making sure your shower niche stays waterproof; you also want it to look good and be useful. Remember, the shower niche is a crucial part of your bathroom’s design. Here are some shower niche guide tips and tricks to consider when planning to install your shower niche.
Right Wall:
- Accessibility: Choose a wall that is easily accessible from within the shower area for convenience.
- Structural Support: Ensure the selected wall is structurally sound to support the niche’s weight.
Right Place:
- Eye Level: Install the shower niche at eye level for easy reach and a pleasing appearance.
- Away from Water Directly: Place the niche away from the direct path of water spray to protect its contents.
Proper Light:
- Natural Light: Consider natural light sources to illuminate the niche. Avoid shadows for better visibility.
- Artificial Lighting: If needed, plan for additional lighting, such as waterproof LED strips, to highlight the niche.

Appropriate Size:
- Functional Size: Determine the size based on your storage needs, ensuring it accommodates your toiletries without being too large or too small.
- Proportion to the Wall: Keep the size proportionate to the wall and the overall design of the bathroom.

Best Suitable Shape:
- Aesthetic Harmony: Choose a shape that complements the overall aesthetics of the bathroom. Shower Niches are available in different shapes and colors e.g. recessed shower niche shelf- black, four inner shelves, Niche in matte black, matte white shower niche, brushed gold shower niche, niche recessed shower shelf- black,
- Practicality: Consider a shape that aligns with your storage requirements and the items you plan to keep in the niche.

Remember, a well-planned shower niche enhances both functionality and the visual appeal of your bathroom. Taking the time to carefully plan the installation ensures that tile a shower niche becomes a seamless and practical addition to your shower space.
How to Install Shower Niche?
Installing a shower niche shelf can be a rewarding DIY project if done correctly. Here are some shower niche guide tips such as How to install a niche in the shower? How to build a niche in the shower wall? A DIY Installation Shower Niche Guide will help you through the installation process:
Plan Carefully:
Before starting, carefully plan the location and size of the shower niche. Consider the overall design of your bathroom.
Select the Best Shower Niche Material:
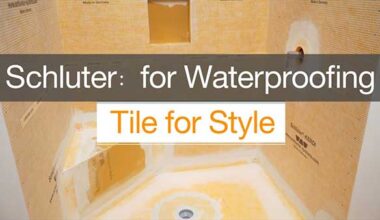
Choose a suitable material for the niche, considering factors such as durability, water resistance, and aesthetics. The best shower niche materials are Schluter Kerdi Board, Brushed Stainless Steel, Redi Niche Quad Niche Recessed Shower Niche Shelf- Black, and Brushed Copper.
Measure and Mark:
Measure the desired niche dimensions and mark the area on the wall. Use a level and measuring tape to ensure accuracy.
Cut Open the Wall:
Carefully cut the wall to create the niche opening. Use an appropriate cutting tool, following the marked dimensions.
Install Support and Backing:
Add support and backing within the wall to ensure stability for the niche. This may involve adding wooden or metal framing to support the niche structure.

Apply Mortar:
Apply thin-set mortar to the niche area and the back of the niche tiles. Press the tiles into place, ensuring even spacing. Use spacers to maintain consistent gaps.
Grouting:
Once the tiles are set, allow them to dry before applying grout. Apply the grout using a rubber float, making sure to fill all gaps. Wipe off excess grout with a damp sponge.
Seal the Grout:
After the grout has cured, apply a grout sealer to protect it from moisture and stains. Follow the manufacturer’s recommendations for the specific sealer you are using.

Install Shelves:
Install them securely using thin-set mortar or an appropriate adhesive.
Finish the Edges:
Finish the edges with trim or bullnose tiles to create a clean and polished look.
Test for Stability:
Before using the shower, make sure the niche is stable and securely attached to the wall.
If you’re unsure about any step, consider consulting with a professional or seeking guidance from experienced DIY resources.
When you pick the right stuff, decide where to put it, and follow the installation tips, you not only make your shower area more useful but also make your bathroom look cool. So, go ahead with your shower niche project and make your daily routine more stylish and practical.